📖 User Guide
This user Guide is updated regularly. It allows you to enter in the details to learn how to use the editor.
|
📄 View manual in PDF format Listen in voice mode :  CinematicLast update : January 06, 2026🔗 PresentationThe cinematic editor allows you to create short animated clips. You have probably already seen this in games: when your character enters a specific area, a short cinematic sequence is triggered. It can last from a few seconds to a few minutes, usually between 1 and 3 minutes. 🎬These cinematics are often used to introduce a mission. A character talks, explains a problem, or asks the player to do something for them. Once the cinematic ends, the player regains control and can start the mission that has just been introduced, following a defined sequence. In this way, cinematics help tell a story as the player progresses through the game world. 📖✨ This is exactly what we will explore in this manual: how to create cinematics step by step. The editor is designed to be simple, yet powerful enough to let you create rich scenes without overwhelming you with a heavy or complex interface. Let’s take a look at what the interface looks like: 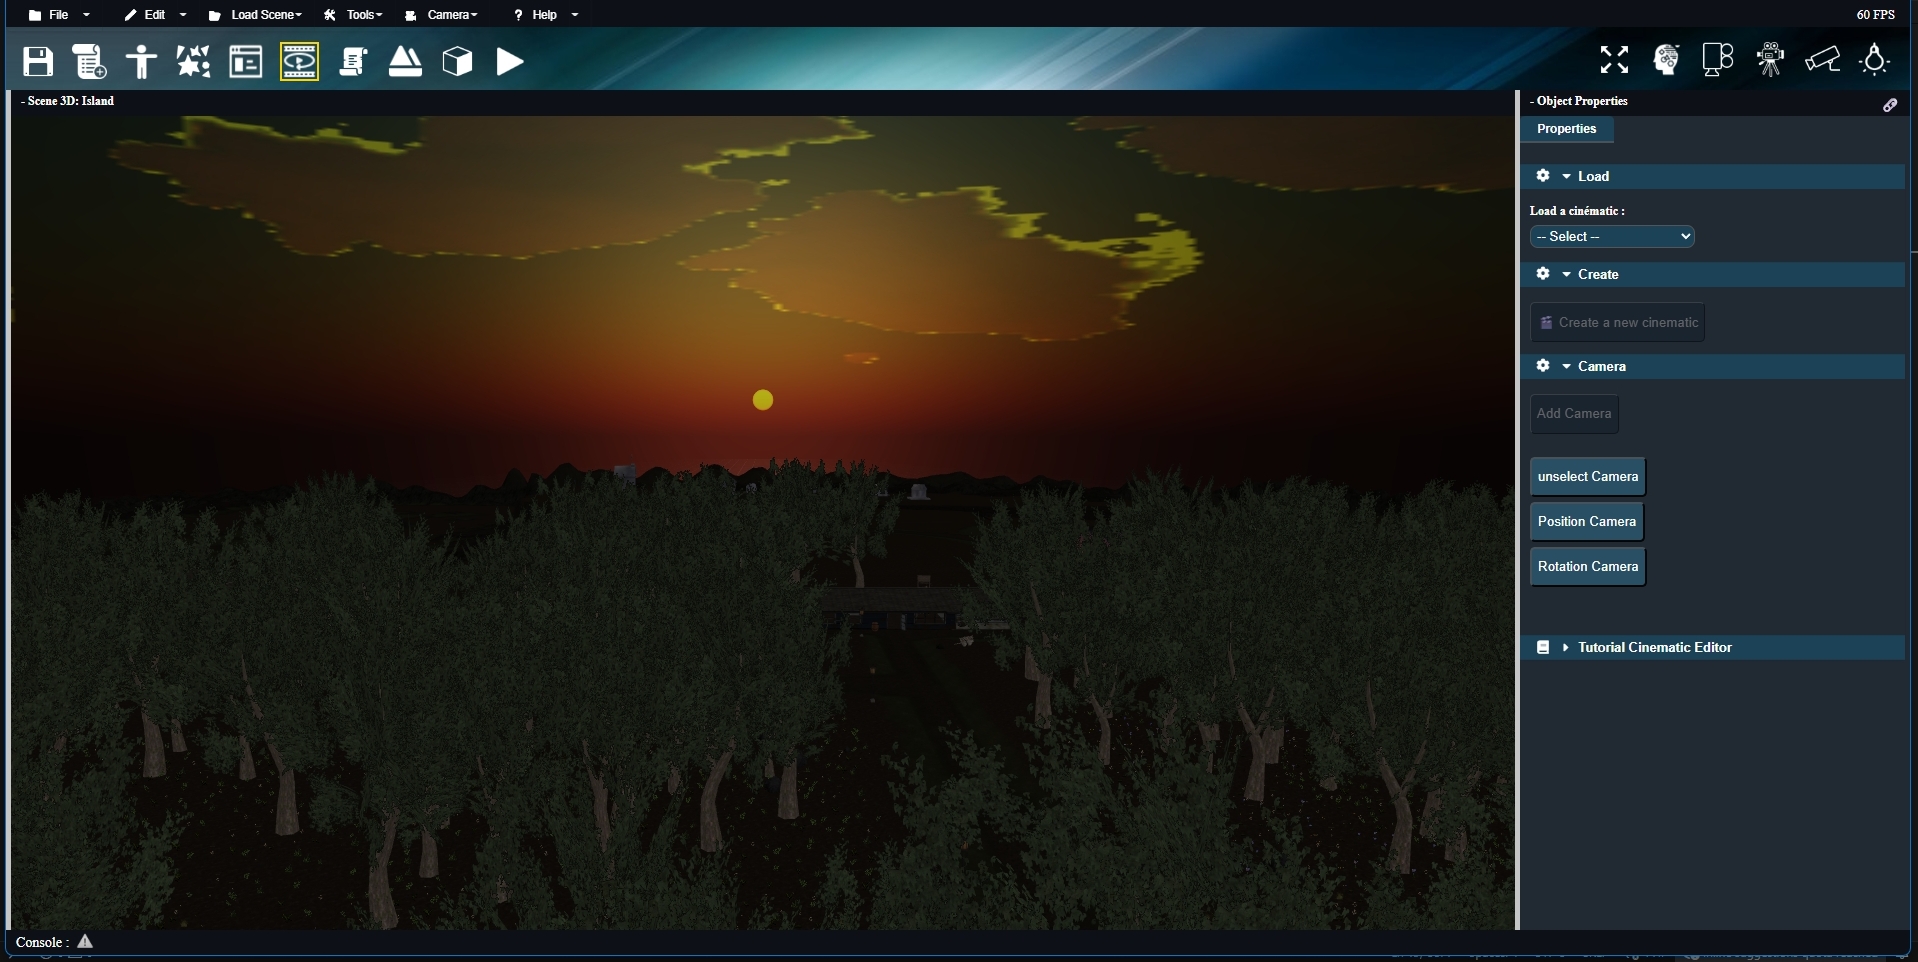
This is the minimal version of the interface. Later, when you create a new cinematic, a timeline will appear on bottom of the editor. This timeline can be moved anywhere on the screen, allowing you to free up space in the 3D view if needed. The 3D scene itself is the same one used by the level editor, which is perfectly intentional. You do not need to create a separate scene just for cinematics — you simply reuse the existing one. 🌍 Here is what the timeline looks like before we learn how to create and use it in the next chapters: 
Alright! In the next chapter, we will see how to create a new cinematic, because there is one crucial concept you need to understand before going any further. 🔑 |