📖 User Guide
This user Guide is updated regularly. It allows you to enter in the details to learn how to use the editor.
|
📄 View manual in PDF format Listen in voice mode :  CinematicLast update : January 06, 2026🔗 Create a new cinematicIn your game, you can have multiple cinematics that play in a specific order to tell a story. To create a cinematic, you may notice that the creation button is initially disabled: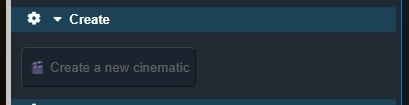
This is completely normal. To unlock the button, you first need to select a 3D object — but not just any object. Move the editor camera to the place where you want the cinematic to take place (for example, inside a building where a character will speak). Then select an object located in that area: a table, a chair, an object on the table, or anything else — as long as it is positioned where the cinematic will happen. Why is this necessary? First, selecting an object unlocks the cinematic creation button. Once unlocked, clicking it will display the timeline. The timeline starts empty, but it is now linked to the selected object. 🎞️ 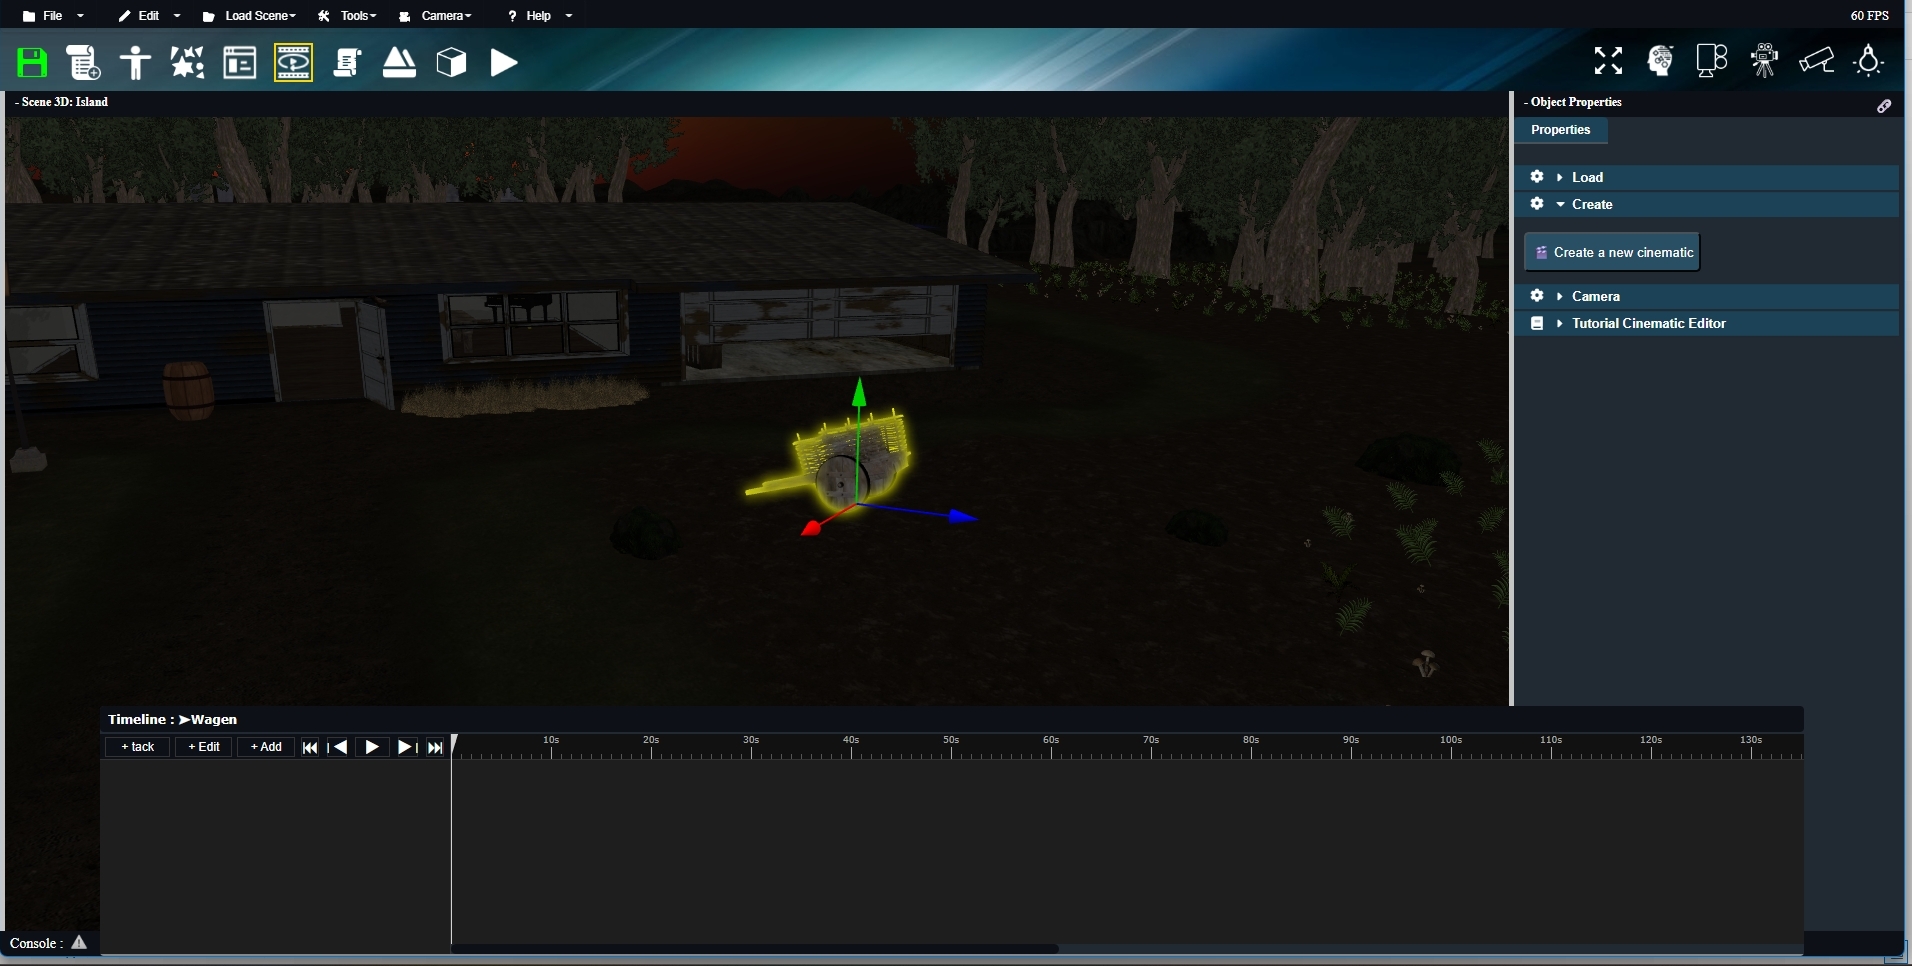
This object is the one that will store all the cinematic data when it is saved. These data are later retrieved by the game at runtime. But this 3D object does more than just unlock the button. A cinematic needs to be triggered by an event in the game. In the editor, a specific GameElement is used for this purpose. The object that contains the cinematic must therefore be connected to a GameElement that will trigger it. 🔔 Like other objects, the cinematic object has a connection point. However, this one is blue instead of yellow, making it easier to identify objects that contain cinematics. To see these connection points, the “Visual Logic” mode must be enabled. Let’s look at this step by step with images. First, the GameElement used as a trigger: 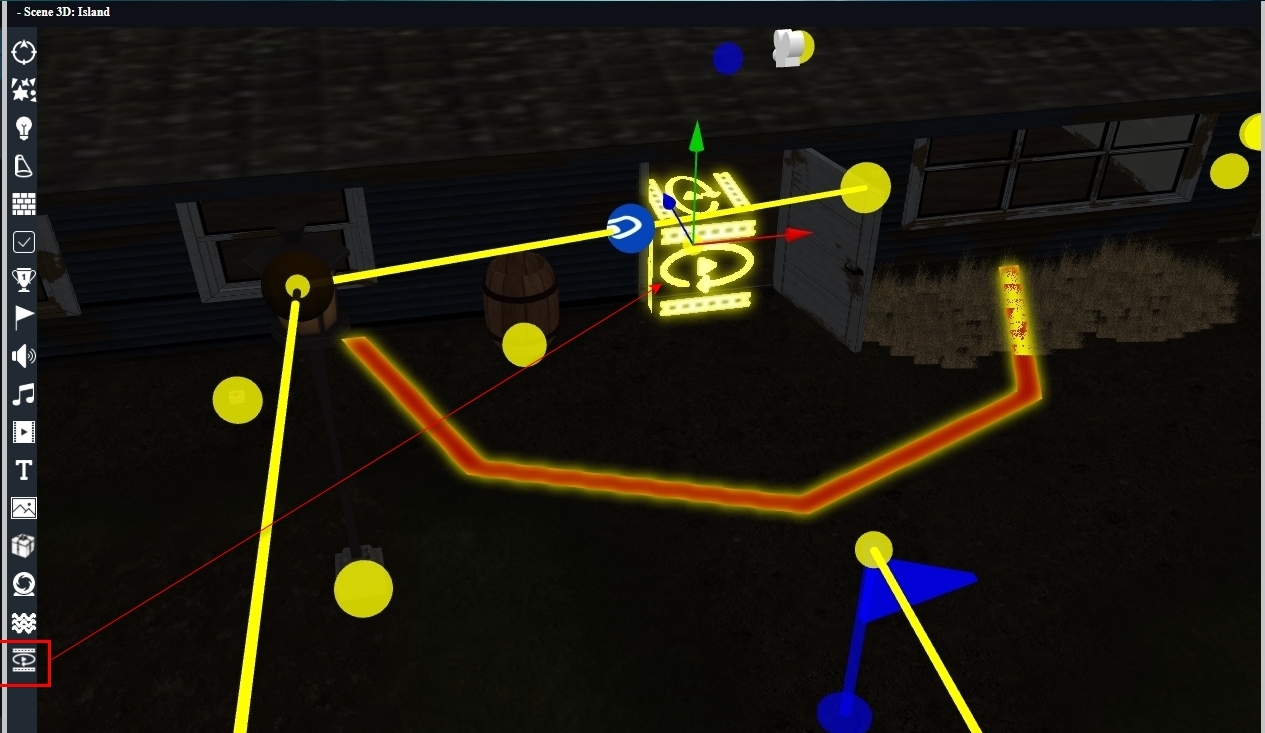
Then, the connection between the GameElement and the object that contains the cinematic: 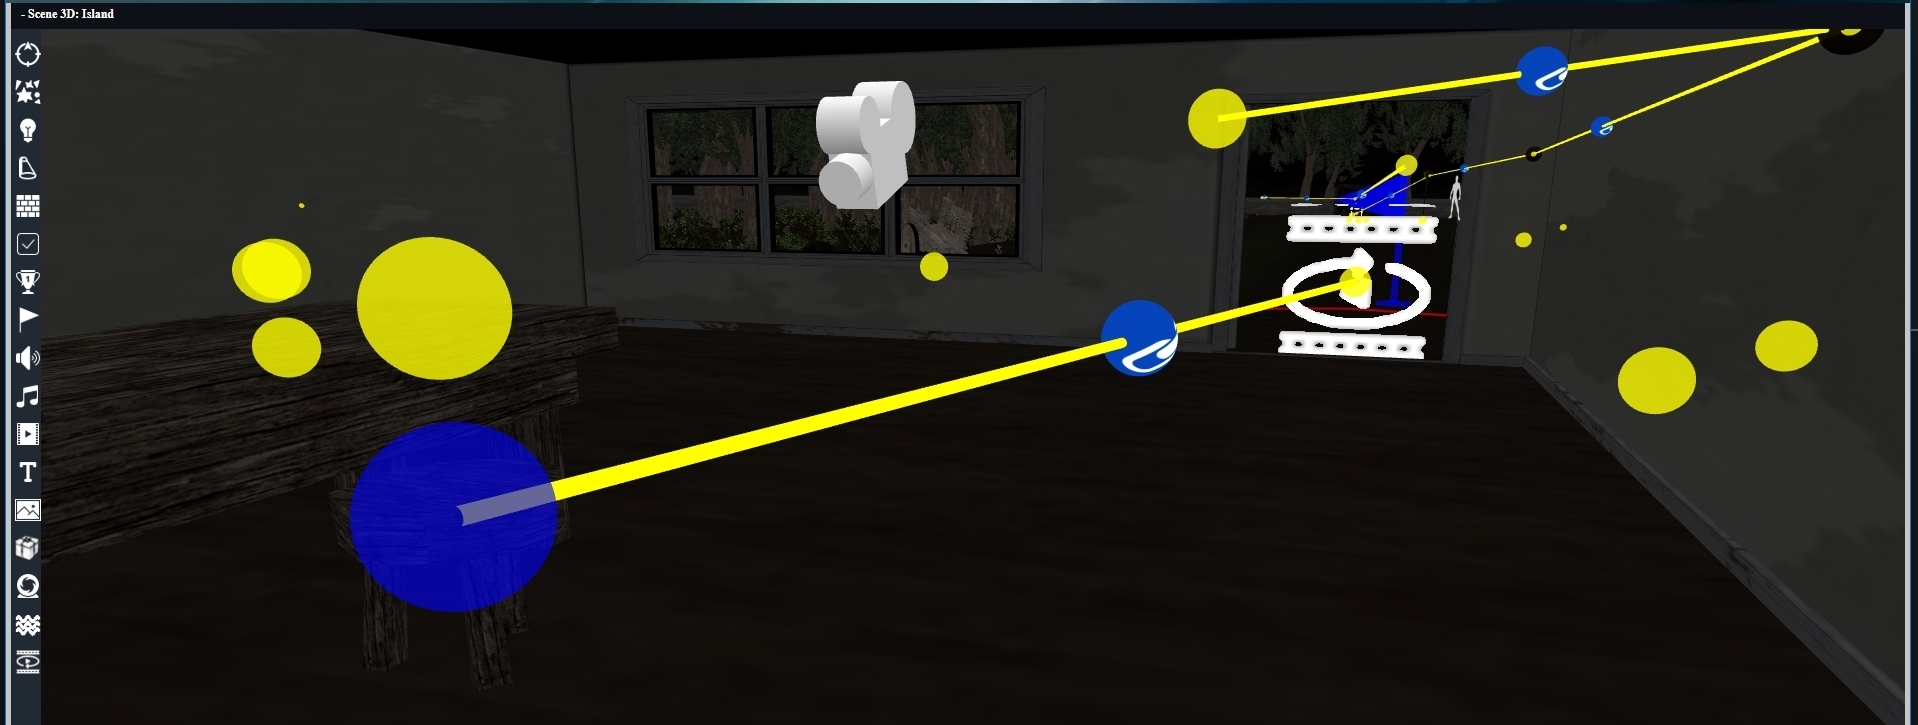
This connection can be created later. The important thing to remember is that you must first select an object, then click the button to create a cinematic linked to that object. Once the timeline is displayed, you can start creating animations. This is exactly what we will explore in the next chapter. 🚀 |