📖 User Guide
This user Guide is updated regularly. It allows you to enter in the details to learn how to use the editor.
|
📄 View manual in PDF format Listen in voice mode :  GUILast update: January 08, 2026🔗 OverviewThe GUI (Graphical User Interface) editor allows the player to interact with the game or obtain information about it. 🎮A GUI creates a bridge between the user and the game, using 2D visual elements to interact with the story and the player. ✨ For example, you might have a mini-map 🗺️, windows like an inventory dialog 🧰, health bars ❤️, buttons 🔘, and more. The editor is very versatile and lets you create interfaces ranging from simple to complex, all easily and **without writing a single line of code** 💻. Here’s what the interface looks like: 👀 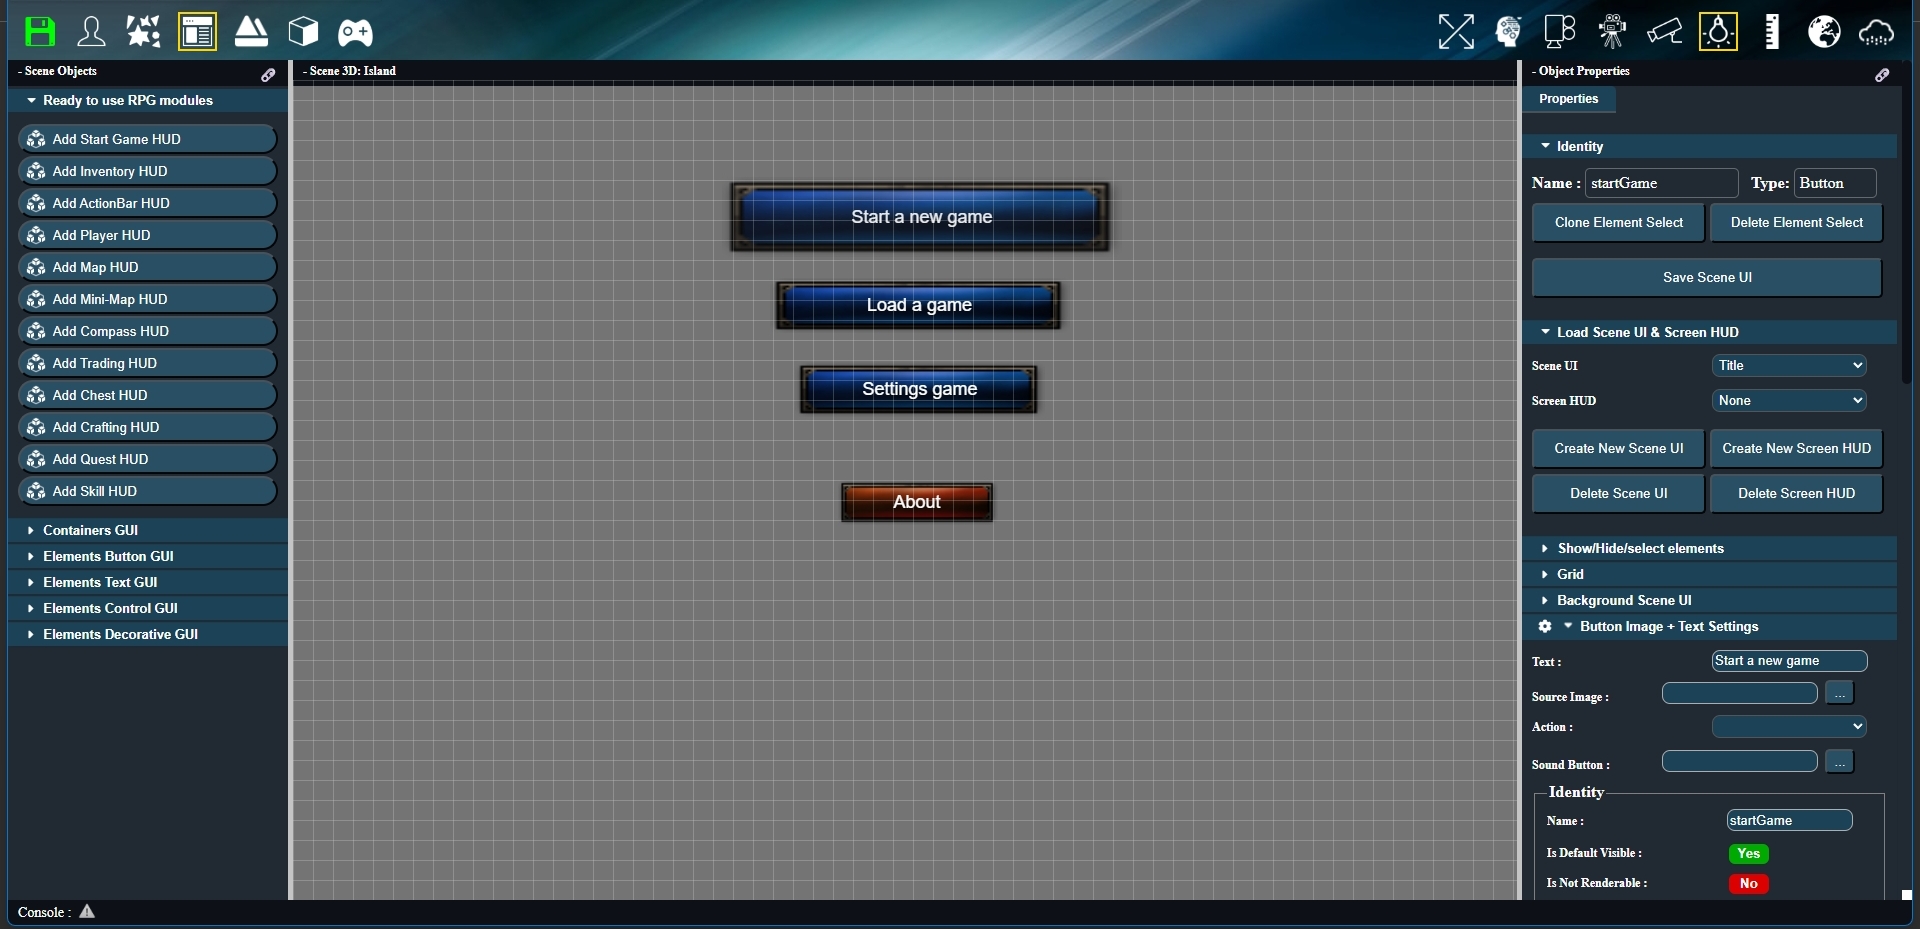
It is divided into several sections: 🧩 - The **left sidebar** displays all the GUI elements you can drag into the central workspace. ⬅️ - The **central workspace** has a grid and is where all GUI elements can be dragged, selected, moved, and resized. 🖱️ - The **right sidebar** shows all properties of the selected elements, and also allows you to create UI scenes and HUD scenes. We’ll explain the difference shortly. ➡️ Let’s take a closer look at the left sidebar: 🔍 You can see two types of elements: **“Ready-to-Use RPG Modules”** 🏰 and **“Containers” or “Elements”** 📦. 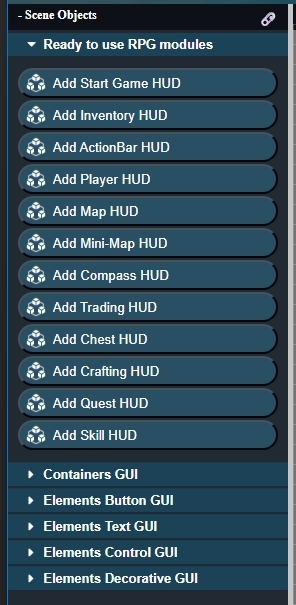 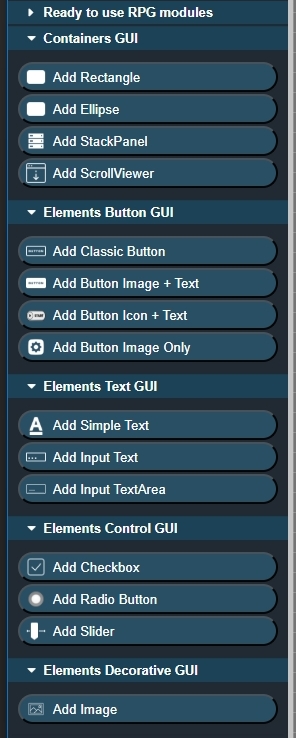
The difference is that **modules** are fully-prepared, complete elements ready to be used with minimal modification. 🛠️ **Containers** or **elements** are individual building blocks, allowing you to construct an interface by adding a container and placing elements inside it. 🧱 That covers the basics of the interface. In the next chapter, we’ll see how to create an interface from scratch 🏗️ and discuss the difference between a **UI scene** and a **HUD scene**. 🎯 |