📖 User Guide
This user Guide is updated regularly. It allows you to enter in the details to learn how to use the editor.
|
📄 View manual in PDF format Listen in voice mode :  QuestsLast update : January 07, 2026🔗 EditLet’s start with the left menu. This is where you create your quests or missions and where the list of all saved quests is displayed. 📋The two buttons are self-explanatory: Create a new quest or delete the currently selected quest. 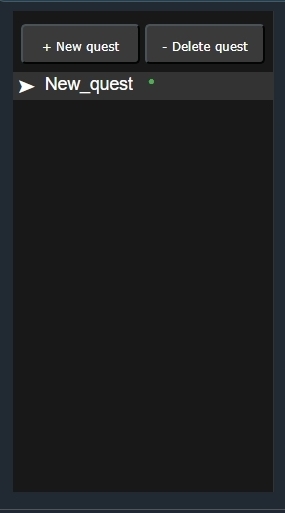
Once a quest is created, the right panel allows you to edit its properties. First, you can define the quest ID. This ID is used as a reference elsewhere (cinematics or GUI) and is also the name displayed in the left menu. Next comes the Initial State. There are three possible values: - Inactive: The quest is triggered by a cinematic. (This name may change in the future to something more appropriate.) 🎬 - Available: The quest is available for an actor to give it to the player through a readable text. 🧙♂️📜 - Progress: The quest is still under preparation. It is not available for cinematics or GUI windows yet. It is simply a work-in-progress state. 🚧 You then have the Description. If the quest is displayed in a GUI window, this description must be filled in. If the quest is triggered only by a cinematic, the description is optional. Next is New Cinematic ID. This is the cinematic that will be triggered once the quest has been successfully completed. (This system may still evolve; improvements or more automated solutions are being considered.) 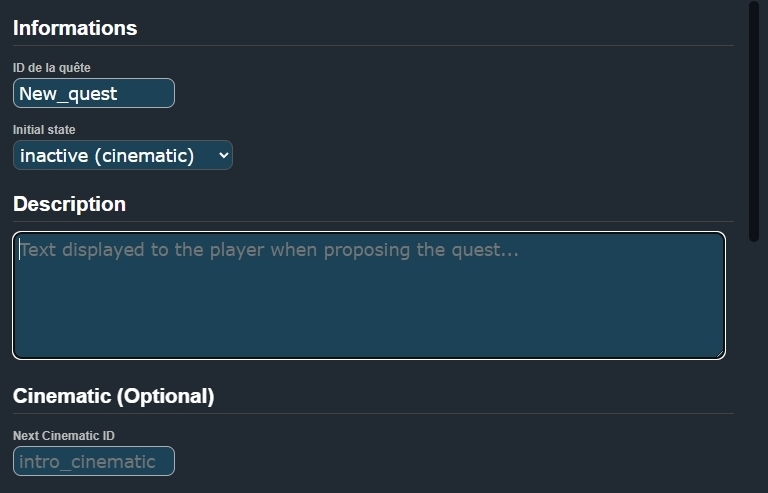
The following section is very important. This is where you define the success conditions of the quest. You can add one or multiple conditions depending on your needs. ✅ To configure a condition, start by selecting a condition type from the dropdown menu: collect an item, kill enemies, reach a specific area, etc. Then, define the related object. If it is a collectible item, you can either enter the object ID manually or select the object directly from the library using the small icon next to the field. 📦 The Value field defines the required amount: number of items to collect, number of enemies to defeat, and so on. The minimum value is 1, but you are free to choose any number you want. Add as many conditions as needed to match the quest you want to create. 💡 Tip: Avoid making your first quests too complex. Increase the difficulty progressively to avoid frustrating players. At the beginning, players usually enjoy progression and rewards fast. 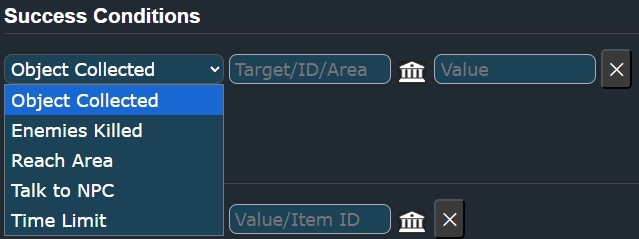
Next comes the Rewards section. When players successfully complete a quest, they should receive something in return. 🎁 This is where rewards are defined. It works the same way as conditions: choose a reward type from the dropdown menu, then define its value. This value can be a number, an object ID, or the object itself. 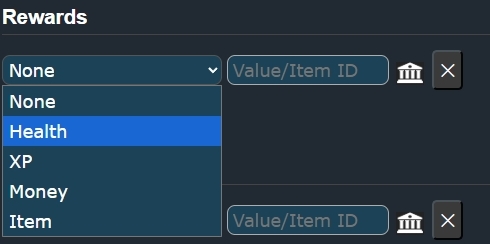
Finally, there are the Penalties. This section works exactly like rewards, but applies when a quest or mission fails. ❌ Penalties are optional. You are not required to punish the player, but in some cases it can be useful: removing an item, reducing experience points, or decreasing the player’s money. 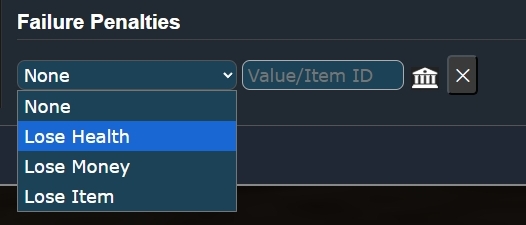
With all of this, you already have a functional base for a quest and mission editor. Since this editor is still relatively new and has not yet been fully tested in real gameplay scenarios, it may evolve over time. New ideas are already being considered, and this manual will be updated when needed. 🚀 |