📖 User Guide
This user Guide is updated regularly. It allows you to enter in the details to learn how to use the editor.
|
📄 View manual in PDF format Listen in voice mode :  TerrainLast update : August 10, 2025🔗 PresentationThe Terrain Editor is where you shape the landscape of your world. You can define the biome type you want for your level, as well as the initial height of the hills. You can texture the terrain using up to 8 textures — and even blend each of these with 8 more! 🎨 But the terrain editor offers much more than just shaping and texturing:
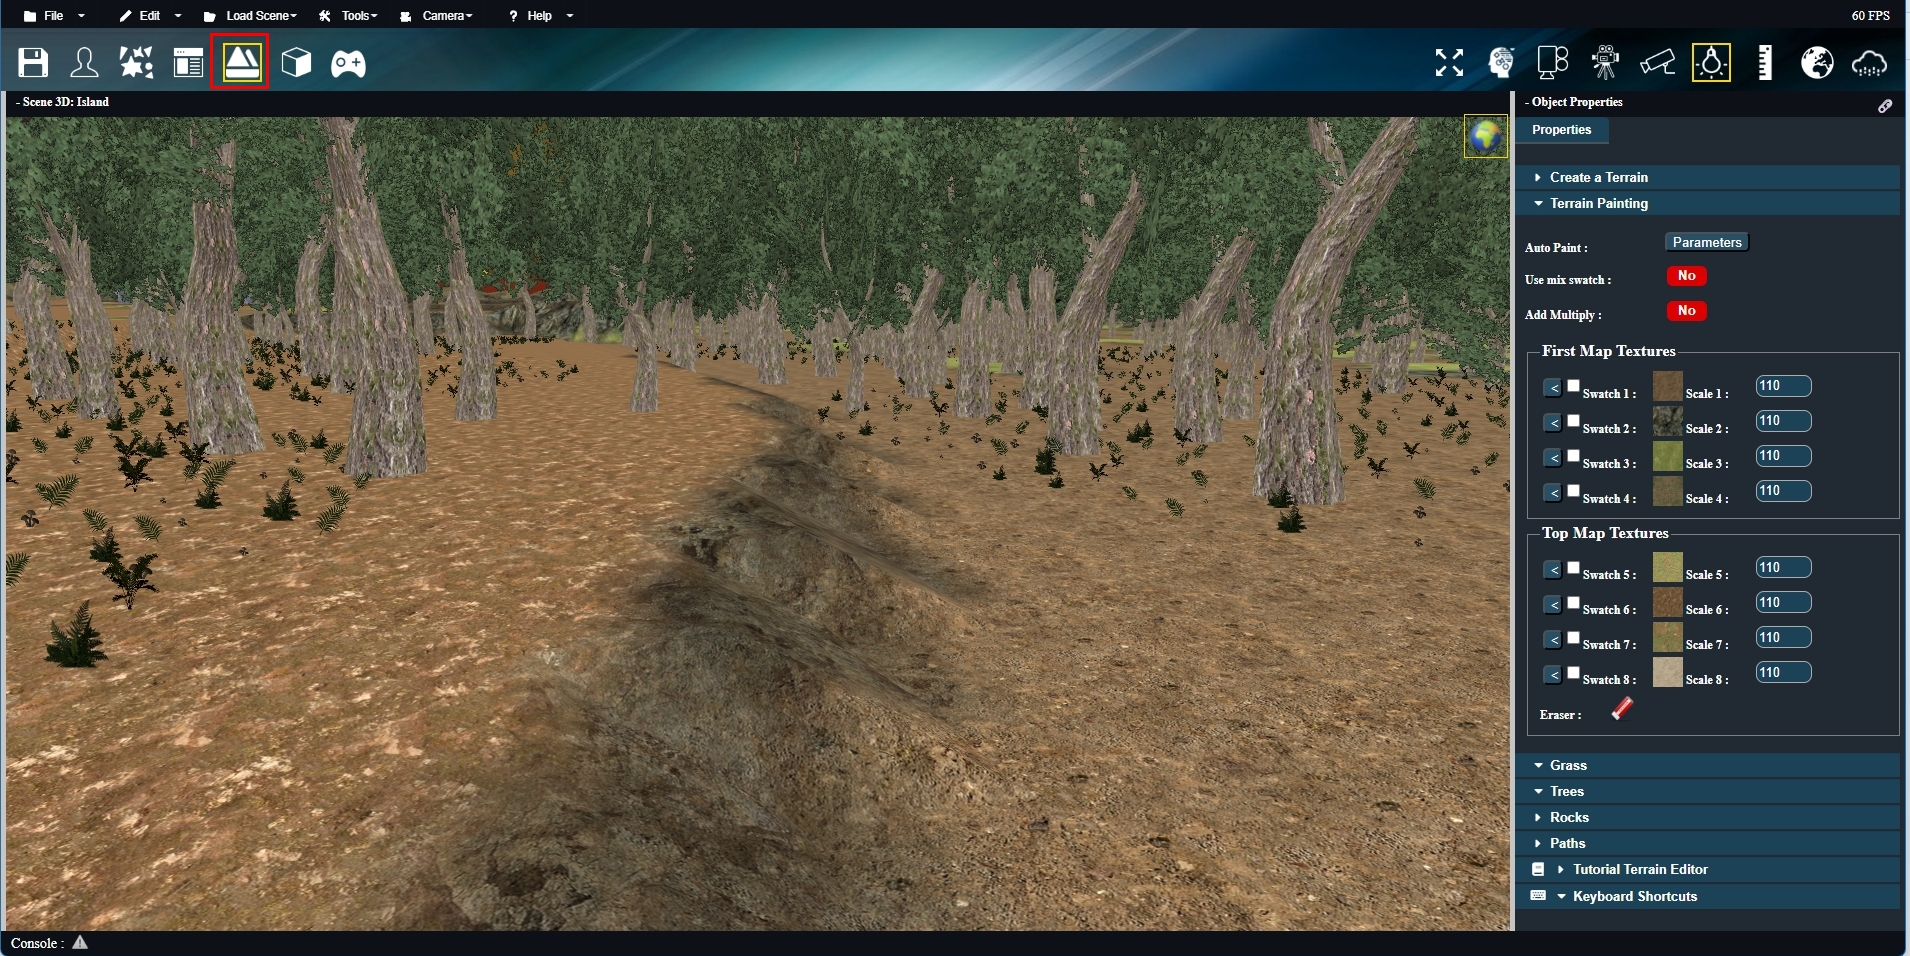
Each part of the terrain editor will be explained in detail in the upcoming chapters. Here’s what the Terrain Editor looks like:
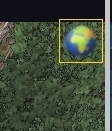
🧭 Editor InterfaceThe interface is composed of a 3D scene and a right-side control panel. In the top-right corner of the 3D scene, you’ll see a globe icon 🌐 — this opens the painting and sculpting tools, which activate a brush:
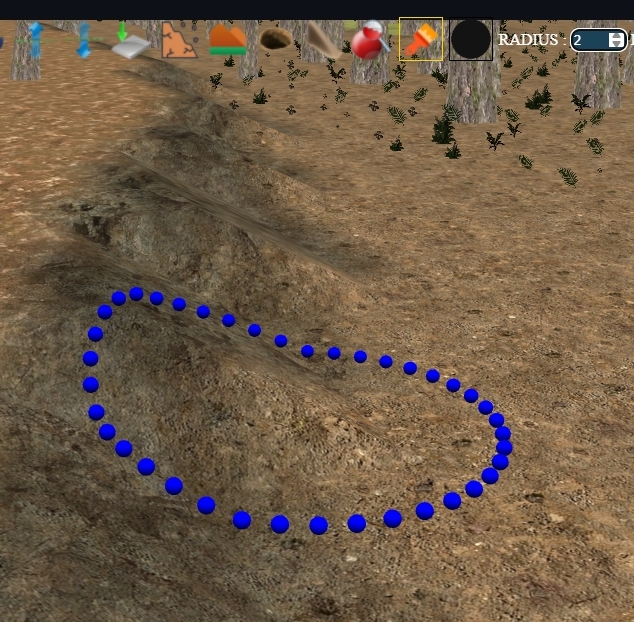
Clicking the globe opens the full toolbar:
Each tool performs a different action, which we’ll explore in the next chapters. Once you select a tool, a brush appears in the scene, showing its current radius. Here's how the brush looks:
🕹️ Brush & Camera ControlWhen a brush is active, camera movement is disabled so you can interact freely with the terrain. To move the camera again, you can either:
But before using all these tools, you first need to generate a terrain. We’ll cover that in the next chapter. ⛰️ |