📖 User Guide
This user Guide is updated regularly. It allows you to enter in the details to learn how to use the editor.
|
📄 View manual in PDF format Listen in voice mode :  TreeLast update : January 07, 2026🌳 EditTo create a tree, look at the right sidebar. You will find a "New Tree" button, and above it, a dropdown menu listing all the trees you have already created.To create a new tree, simply click the button and enter a name for your tree. You can then start choosing the trunk and foliage textures using the palette located at the bottom of the 3D view: 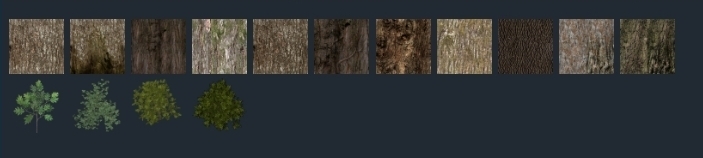
Next, set the scale of the tree (between 0.001 and 0.01). The default tree is very large, so you should use very small scale values. Personally, values between 0.003 and 0.004 usually give good and realistic results. 🌲 After that, you can adjust the texture scaling for both the trunk and the foliage. This controls how many times the texture is repeated. It allows you to create a denser bark pattern or richer foliage depending on the look you want. 🎨 
Once everything is set, click the "Save Tree" button. This will save the tree and make it available directly inside the Terrain Editor. Here is an example of the Terrain Editor with a forest, showing where the saved trees are stored: 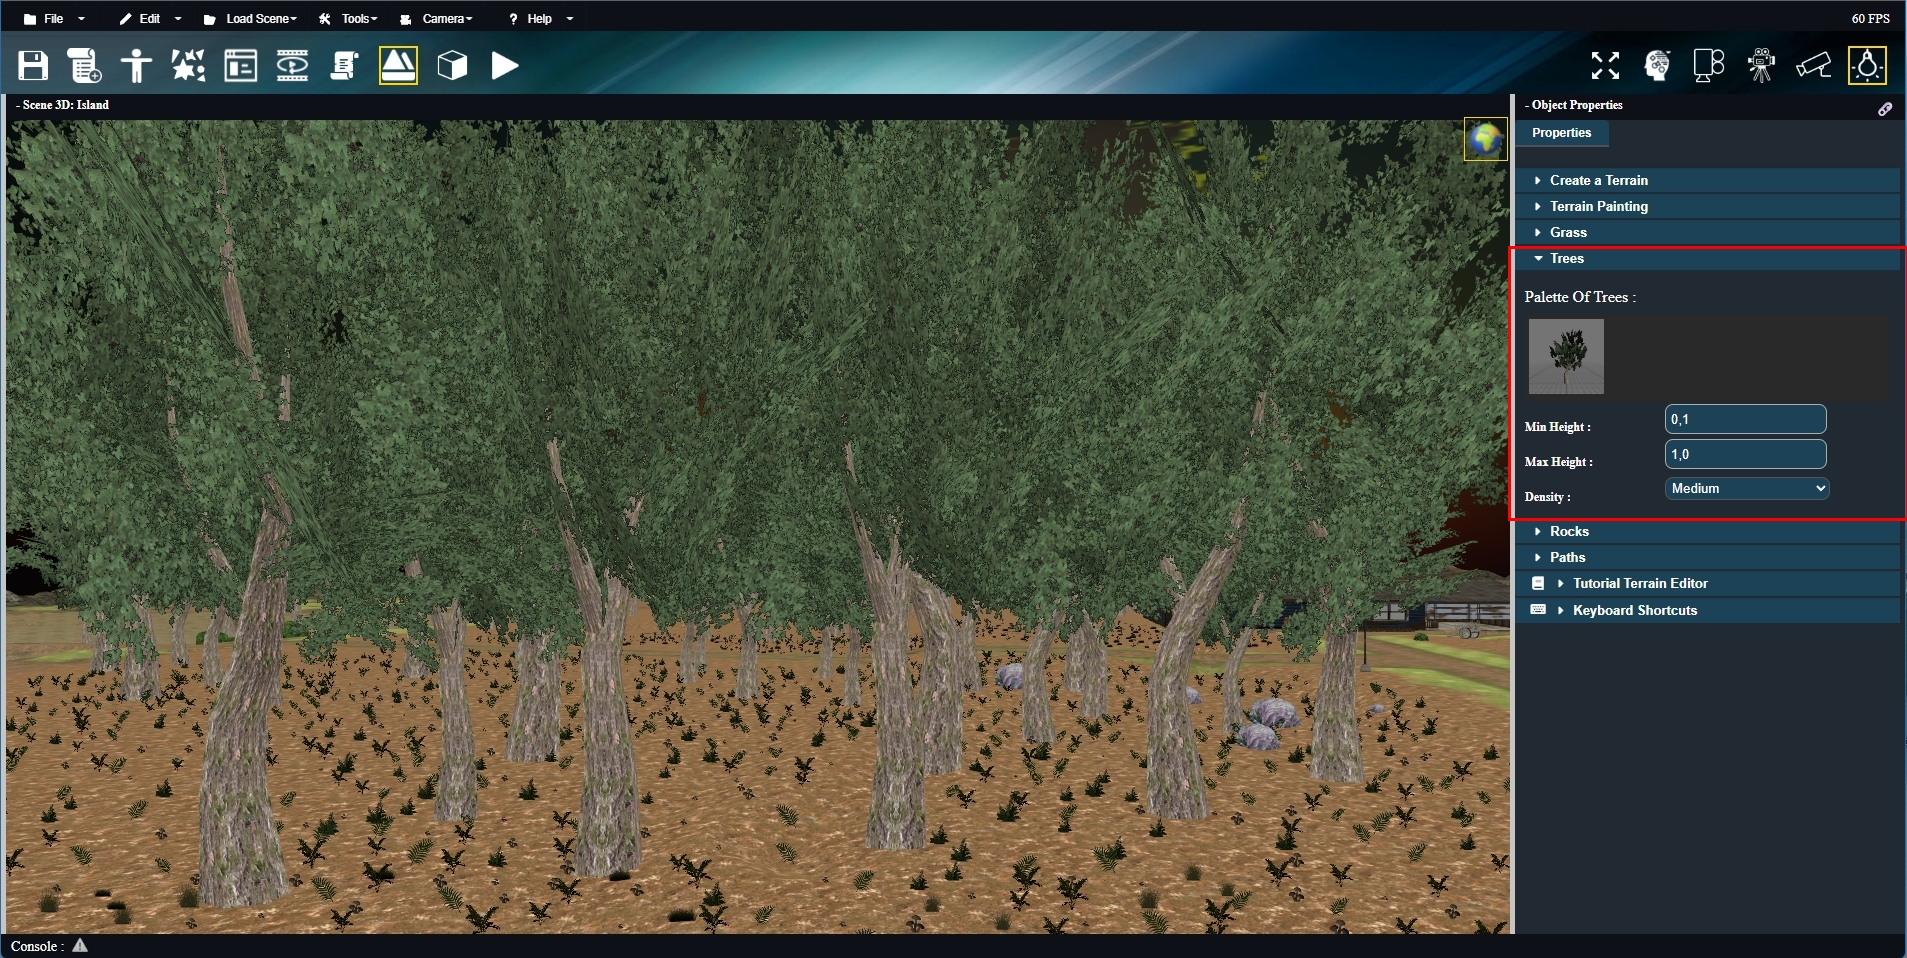
And that’s it. This tool is simple, fast, and very efficient. It saves a lot of time while providing visually satisfying results. ⚡ Most importantly, it is optimized to allow the creation of very large forests with minimal impact on performance. A smooth game experience is essential, and this editor strikes a very good balance between visual quality and performance. 🌿 |