📖 User Guide
This user Guide is updated regularly. It allows you to enter in the details to learn how to use the editor.
|
📄 View manual in PDF format Listen in voice mode :  WorldPlannerLast update: August 24, 2026✏️ DrawThe World Planner drawing editor allows you to create an approximate visual draft of what your 3D world could look like.It helps you think about the layout of your different elements and see how much space they will occupy on the terrain using a scale that is close to the final result. Once your plan is complete, it will give you a clearer idea of what you need to do in the Level Editor: where to place your 3D objects, which objects you will need, how much space they will occupy, and more. Of course, you can still add details and make adjustments once you start working in the Level Editor. The drawing is intended to give you an approximate visual guide, not an exact representation of the final result. You should also leave room for creativity. Nothing is set in stone, and your ideas can evolve during development. However, the plans you create can provide a very useful foundation and help you organize your work. Let's take a look at all the tools available in the panel on the right: 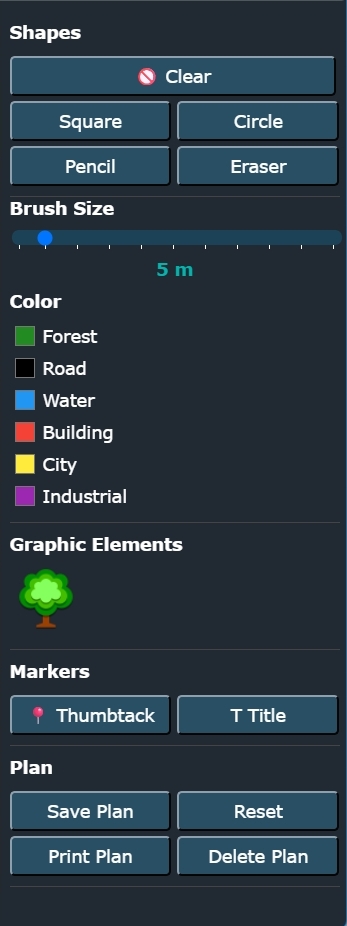 🔷 Shapes
📏 Brush SizeThis allows you to adjust the brush size in meters. The size is calculated using the real-world scale of the area captured from your 3D terrain.You will probably need to adjust the brush size regularly to create a better representation of the objects you plan to place. For example, a house may be approximately 10 × 10 meters, a large tower may be 15, 20, or even 25 meters wide, a road may be 5 meters wide, and a path may only be 1 or 2 meters wide. 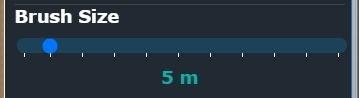 🎨 ColorsOnce you have selected a drawing tool and adjusted its size, you can choose a color based on the references you created and the type of element you want to represent.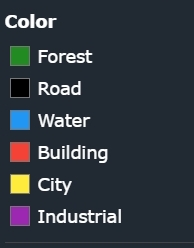 Here is an example showing the result of the different drawing tools: 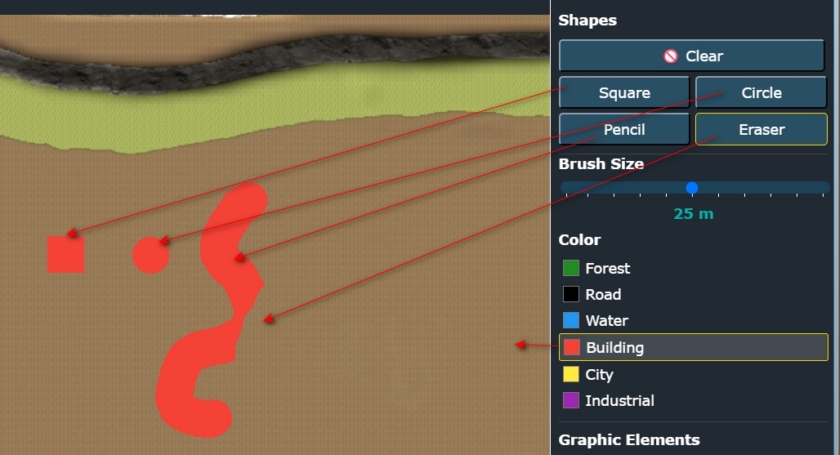 🖼️ Graphic ElementsYou can also place images from your Graphic Elements library. These images are drawn directly onto the plan and can therefore be erased using the Eraser tool.Graphic elements can be used to add more detail to your drawing. They can represent trees, vehicles, houses, cameras, streetlights, or anything else you need. There is no need to use large HD images. Keep in mind that this is a planning tool: the goal is to understand and organize your plan, not to create a piece of artwork. Simply select an image from the library and click on the plan to place it. The currently selected Shape tool does not affect Graphic Elements. 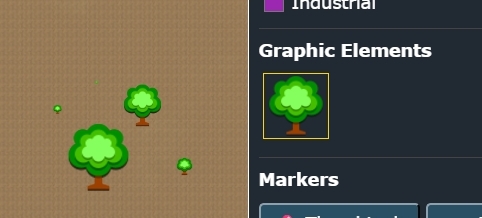 📍 MarkersMarkers allow you to add more precise information to your plan. There are currently two types of markers, although additional types may be added in the future:
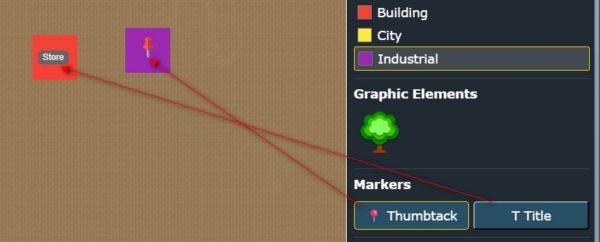 For the Thumbtack, clicking on the pin opens a dialog where you can edit its text. You can also use HTML in this text if needed, although this is completely optional. 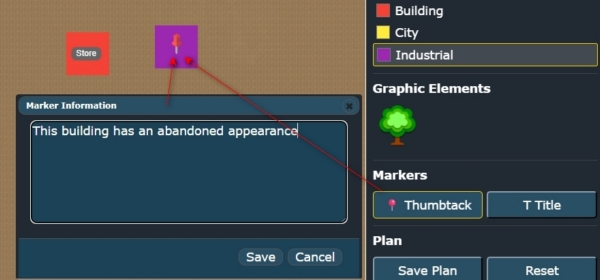 Once the text has been saved, hovering the mouse over the Thumbtack displays a tooltip containing the associated information. 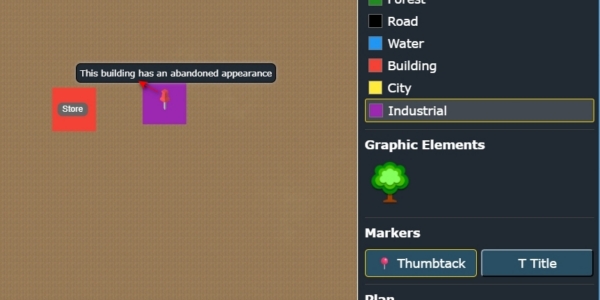 💾 Plan
It can also help you identify which 3D buildings, objects, and other assets you will need for your world. Combined with the Game Design Document (GDD) Editor, the World Planner is a useful addition to the planning process. Together, these tools can help you think about your game, organize your ideas, plan your world, and define the direction you want to take before starting the actual 3D work. |