📖 User Guide
This user Guide is updated regularly. It allows you to enter in the details to learn how to use the editor.
|
📄 View manual in PDF format Listen in voice mode :  WorldPlannerLast update: August 24, 2026📷 GenerateThis interface allows you to generate a plan from your 3D terrain. You can move the camera forward, backward, left, and right. You can also zoom in and out to capture a larger or smaller area of the terrain. Once you have positioned the camera, you can use the menu to capture the current 3D view and generate a 2D plan that you can draw on. Let's take a look at the panel on the right: 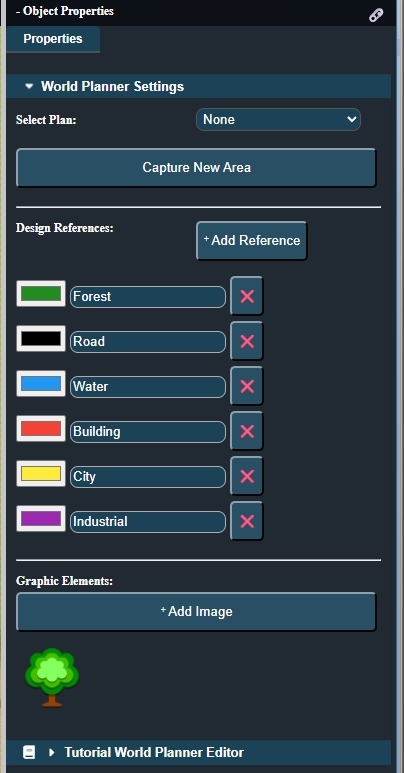
Let's generate a plan for this example: 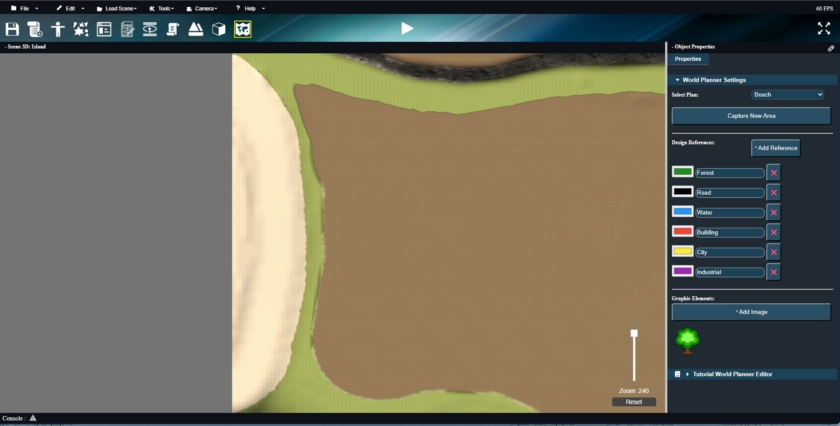
Once you have defined the area you want to use, click the Capture New Area button to generate the plan. A dialog box will open and ask you to enter a name for your plan. 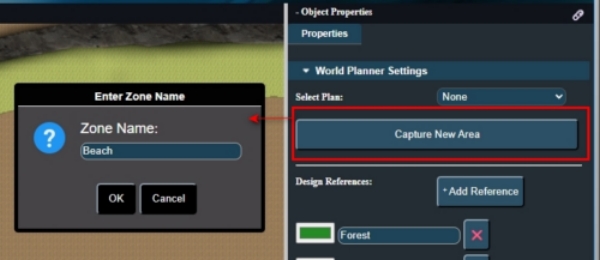
After confirming the name, the drawing editor will open using the exact view captured by the camera: 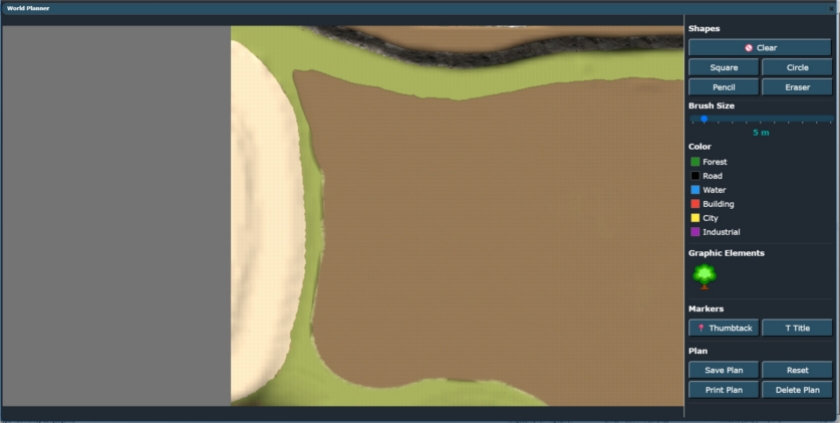
Your plan is now ready. All that remains is to start working on the drawing. We will take a closer look at this in the next chapter: Draw. |